
![]() FOSSASIA bring’s people together to share, create, develop and make things with Open Technologies and software. We organize science hack labs, Open Tech events, meetups and coding programs with developers, designers and contributors.
FOSSASIA bring’s people together to share, create, develop and make things with Open Technologies and software. We organize science hack labs, Open Tech events, meetups and coding programs with developers, designers and contributors.
Checkout the FOSSASIA Idea’s page for more information.
(ˢᵒᶜⁱᵉᵗʸserver) aims to be a platform for developing collaborative applications.
sTeam server project repository: sTeam.
Break the PR
The week saw a lot of commands been added to the sTeam-shell script.
The earlier PR sent during the proposal writing period was addressing a lot of issue’s. As a result the PR was cherry picked and rebased to form smaller PR’s for each issue.
| Issue. | Github Issue | Github PR |
|---|---|---|
| Add directory location for libxslt.so | Issue-25 | PR-66 |
| Makefile.in changes to add the files in the tools directory to the installed location. | Issue-27 | PR-67 |
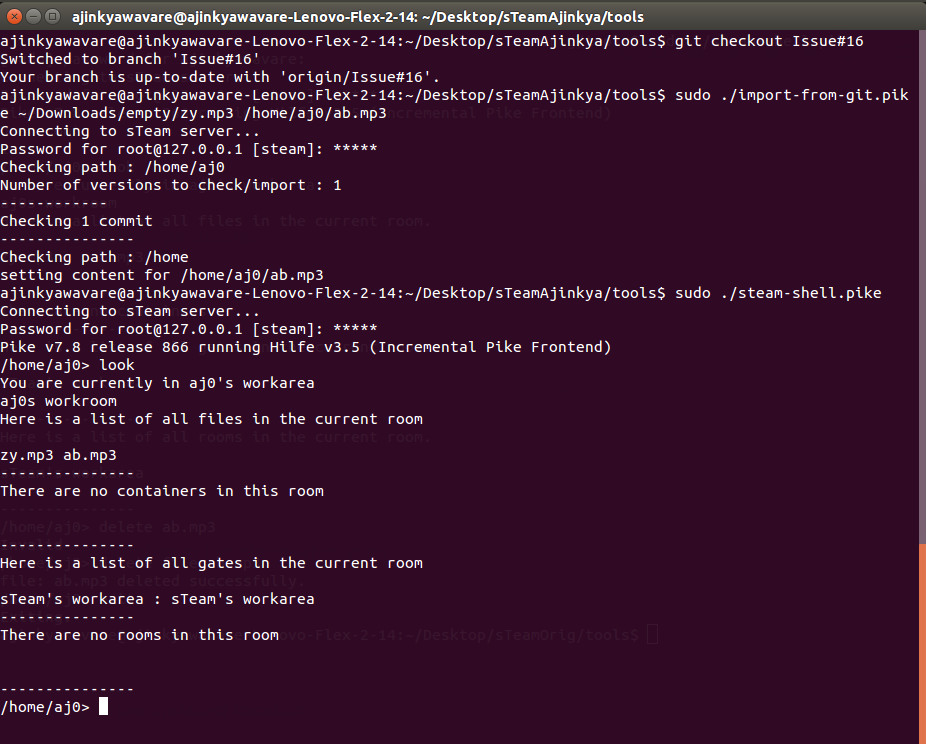
Import from git script
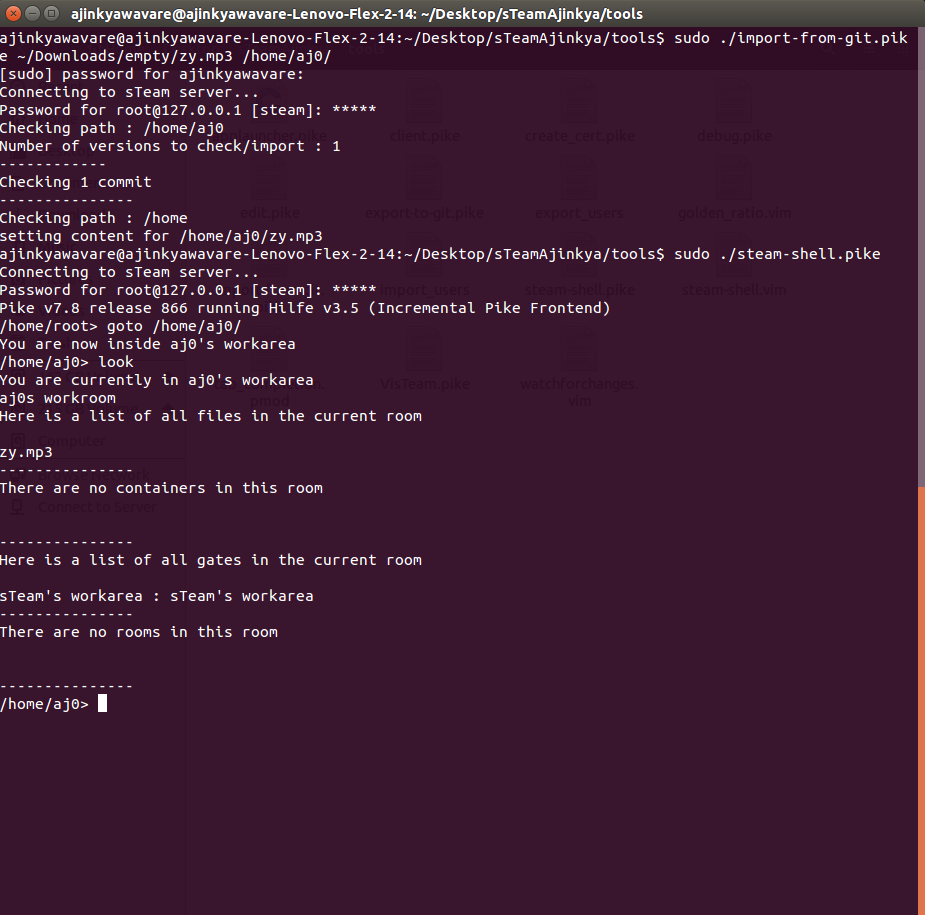
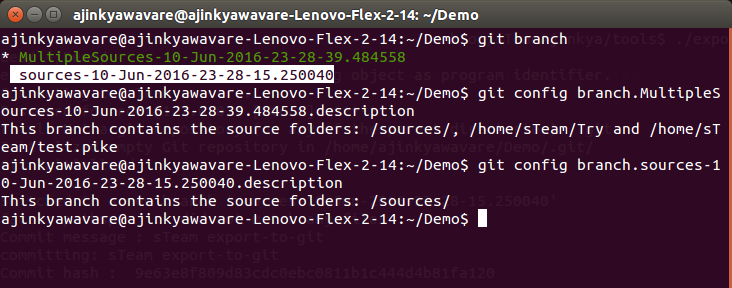
The import to git script was further enhanced to support the feature whereby a user can specify the name of the object in the sTeam directory when a single object is been imported.
The user can now import a single object to the steam work area using the import-from-git script.
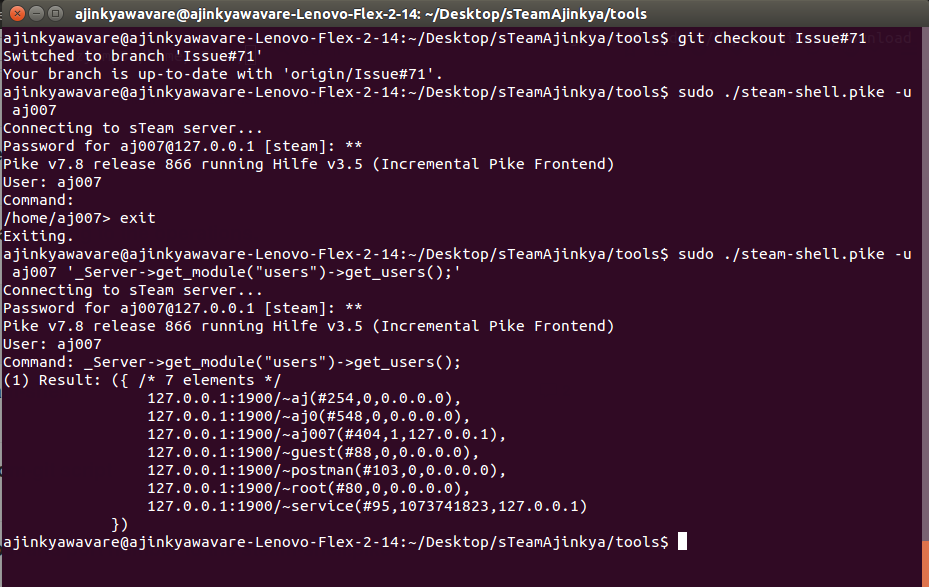
List User’s
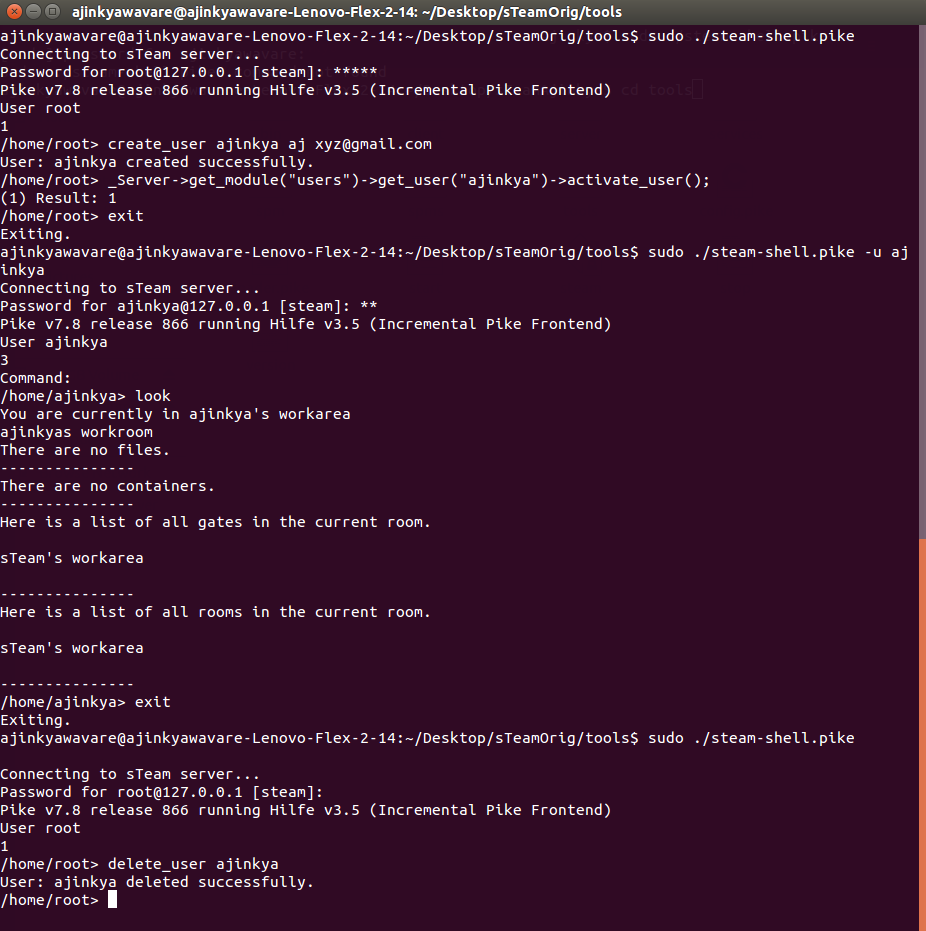
The command to list all the existing user’s in the sTeam server was also added to the steam-shell.
| Issue. | Github Issue | Github PR |
|---|---|---|
| List users. | Issue-72 | PR-78 |

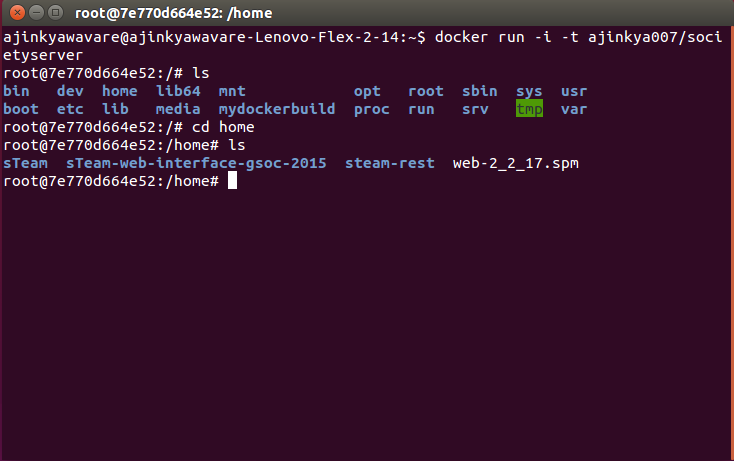
The user after creation needs to be activated by the root user. Thus a user can then access his steam-shell command line by passing the parameters of user name, host name or port number.
./steam-shell.pike -u uname -h hname -p pno
Passing Arguments to the sTeam-shell
The sTeam shell was modified during it’s integration with vi. This had introduced a bug where by the above parameters where not been able to pass along when a command to the sTeam-shell was passed as an argument. The issue was addressed and resolved.
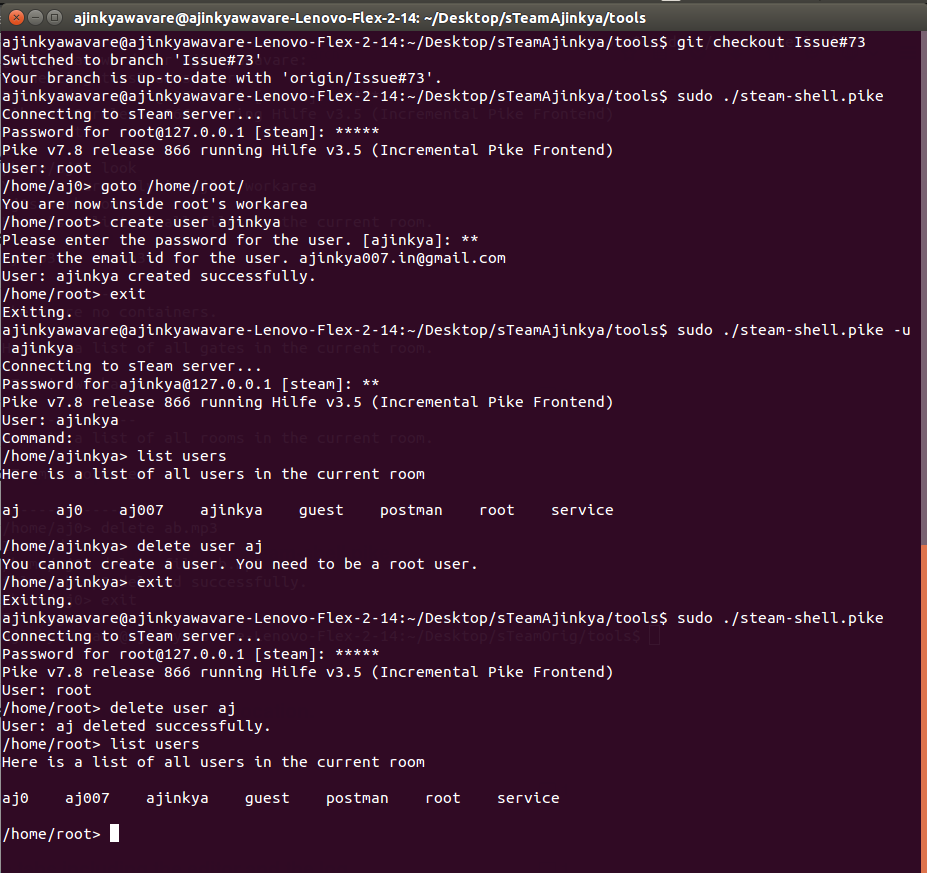
Modularize the tasks
The commands for user manipulation were grouped under their operations like create, delete or list. This the commands were modularize.
| Issue. | Github Issue | Github PR |
|---|---|---|
| The user commands have been modularized based on the actions they perform. | Issue-73 | PR-81 |
The action create, delete and list now support user operations.
Example:
To create a user.
create user test
The terminal would ask for password and email-id.
To delete a user
delete user test
To list all the users
list users
Create a file
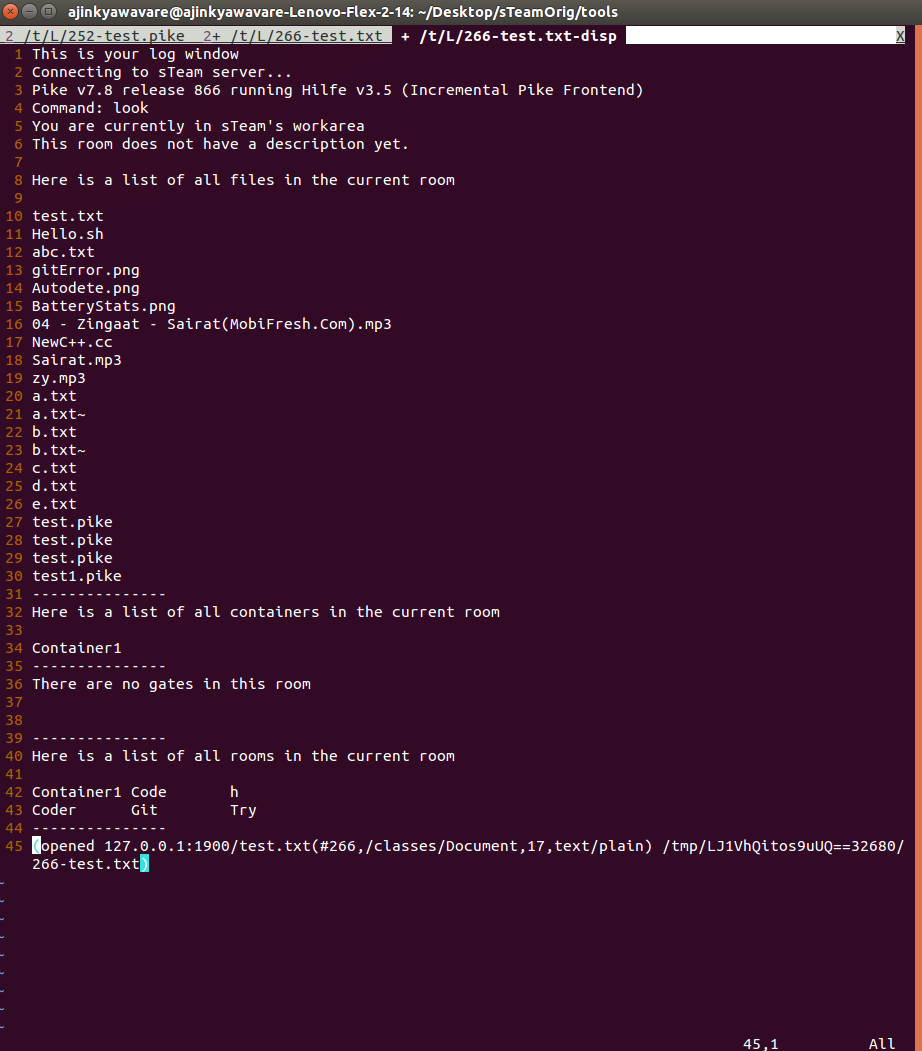
The command to create a file of any type was added to the sTeam-shell. The code for creation and deletion of objects in the sTeam shell was modified and optimized.
The user can now create a file of any type from the command line.
The mime-type of the file is auto-detected.
| Issue. | Github Issue | Github PR |
|---|---|---|
| Create a file from sTeam-shell | Issue-79 | PR-82 |
Usage:
create file filename destination
This would create a file with file name as specified in the given destination. The file name can be like xyz.txt / xyz.pike / xyz.jpg / xyz.mp3. The destination " . " means the current destination.

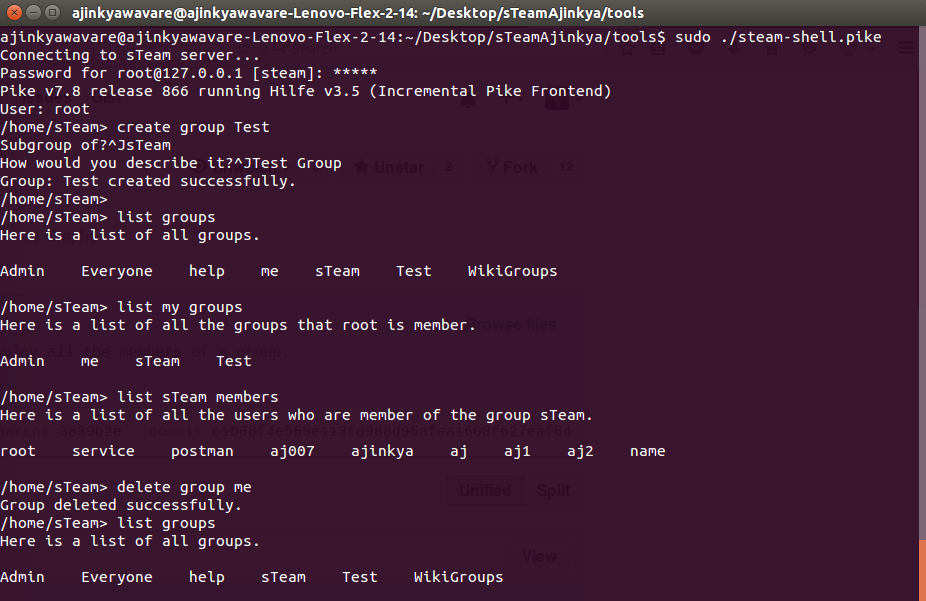
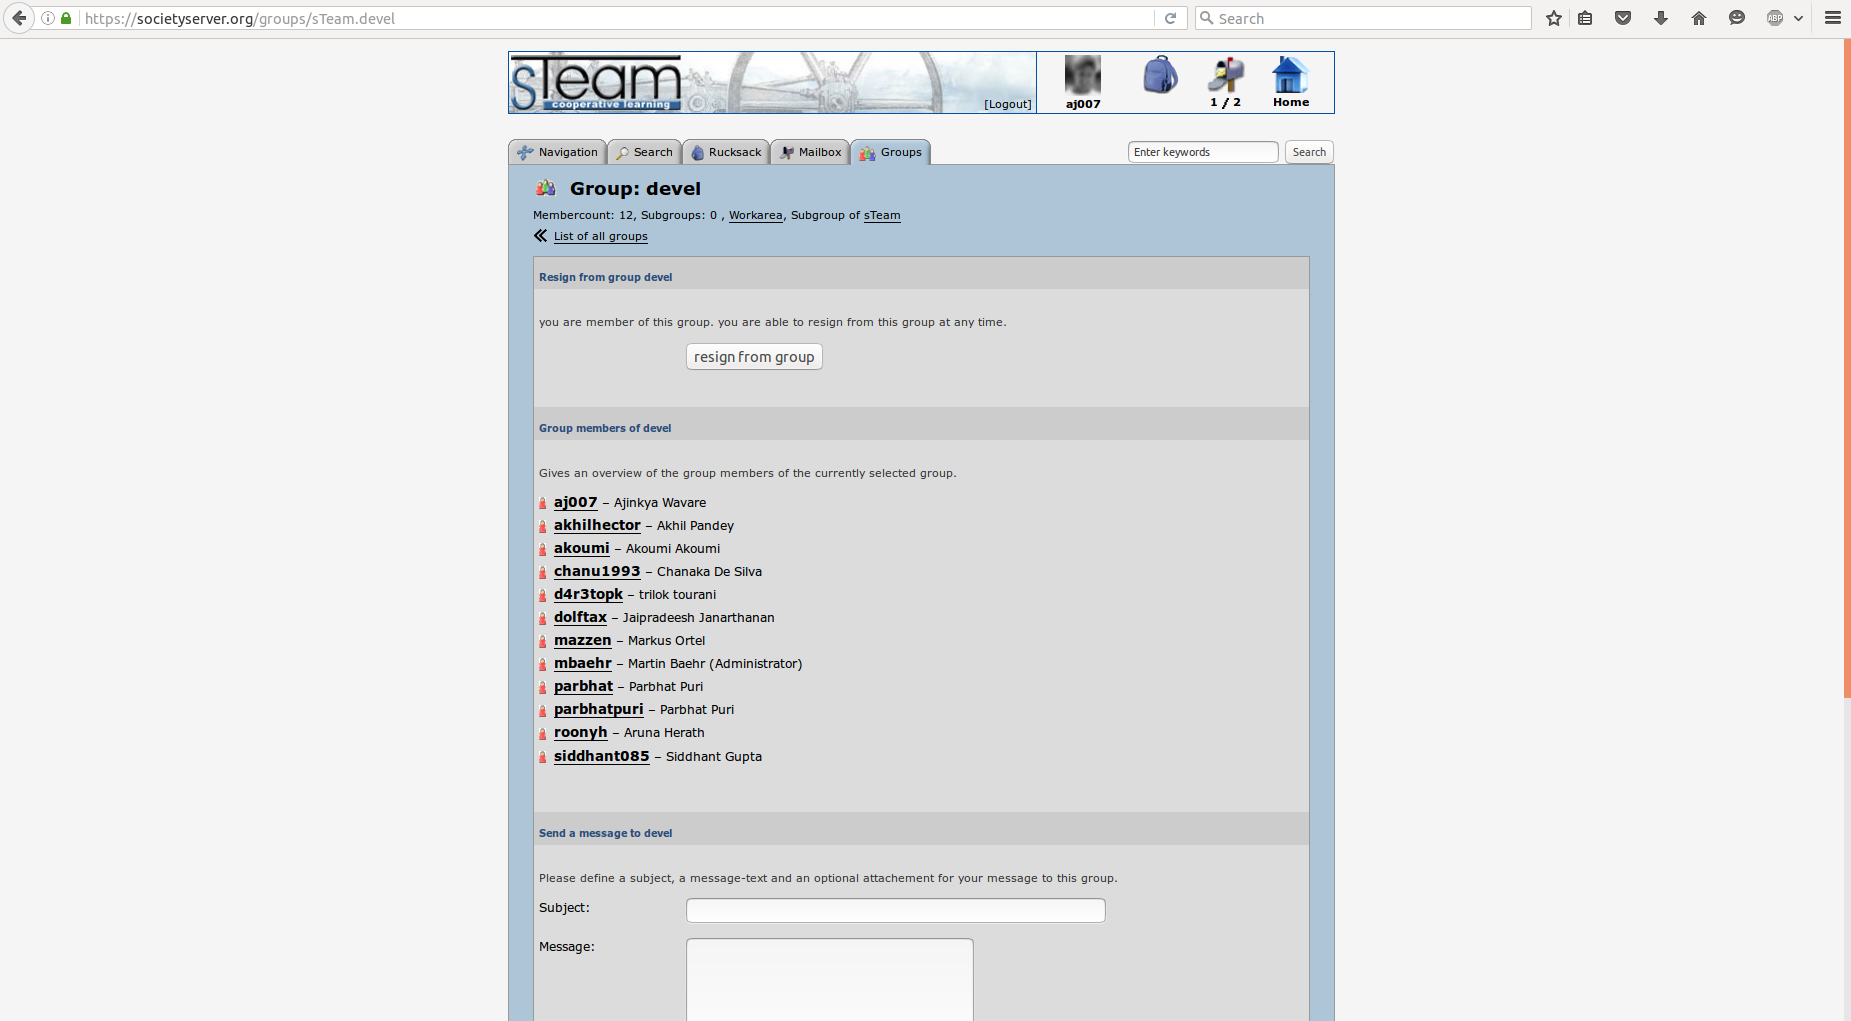
More commands for groups
The commands to create, join, leave and list groups were added by my colleague Siddhant Gupta. The branch was merged with my working repo. The merge conflicts were successfully resolved. More commands for operations of a group were added. A user can list all the members of a group, list groups that a user is member of and delete a group.
| Issue. | Github Issue | Github PR |
|---|---|---|
| Create a file from sTeam-shell | Issue-80 | PR-84 |
Usage
- To list all the groups that a user is member of.
list my groups
- To view all the members of a group.
list groupname members
- To delete a group
delete groupname
Support for sending mails
The steam-shell user can now send mails. The utility to support mails was added. The earlier web.spm package was analyzed to find the existing classes used in the web interface in order to support this utility. The browser.pike file can in handy.
| Issue. | Github Issue | Github PR |
|---|---|---|
| Add utility to send emails. | Issue-74 | PR-85 |
Usage:
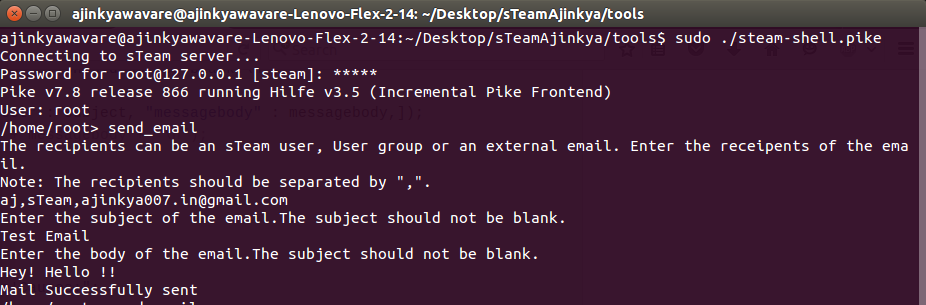
send_email
This would ask the user to enter the recipients. The recipients can be a sTeam user, a group or an external email.
Note: The recipients should be separated by “,”.
Then the user has to write the email subject and the email body.
After this the user would be then notified about the status of the email.
Successfully sent mail
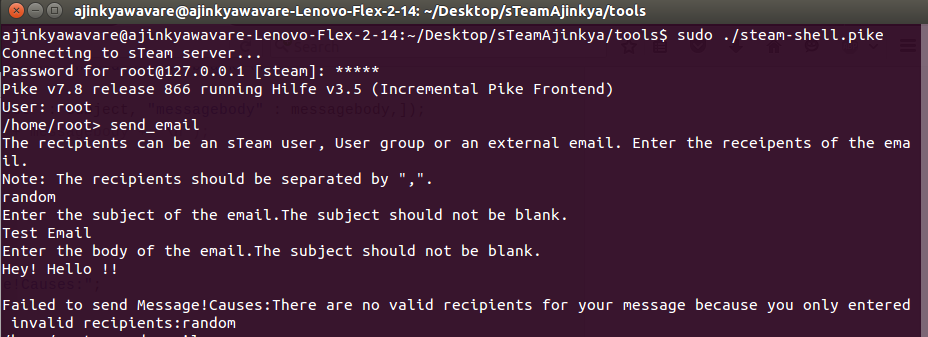
Mail failed due to wrong recipient
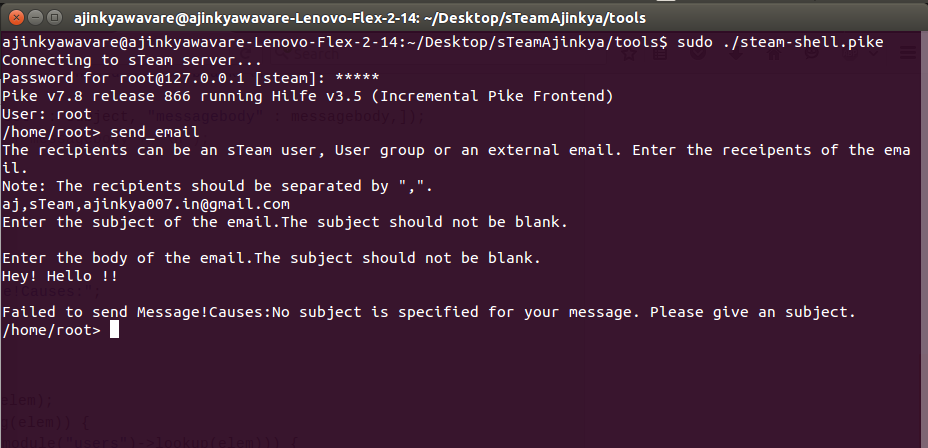
Mail failed due to empty subject
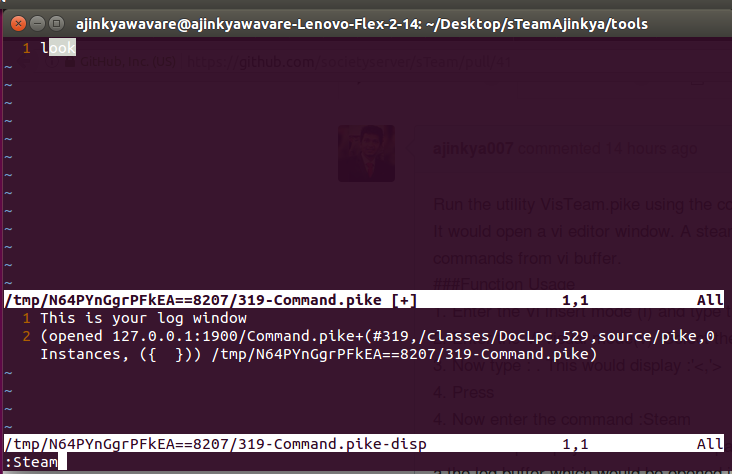
Logs
The user can now see the logs of the sTeam server from the command line. The logs are stored in the /var/log/steam/ directory.
| Issue. | Github Issue | Github PR |
|---|---|---|
| Open sTeam-server logs from sTeam-shell. | Issue-83 | PR-86 |
Usage
log
The user will be notified about the logs and would be asked to input the name of the logs to open.
The log files include errors, events, fulltext.pike, graphic.pike, http, search.pike, security, server, slow_requests, smtp, spm..pike and tex.pike.
Enter the name of the log files you want to open.
Note: The filenames should be separated by ",".
Input the name of the log files to open. The log files would be then opened in a vi window. User can open multiple logs.
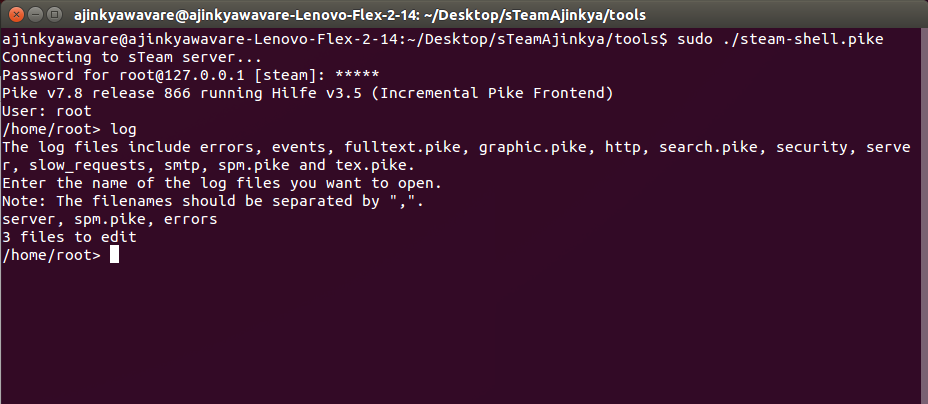
Opened Logs

The mid term evaluation for Google Summer of Code 2016 set’s in. The week end will decide the fate of GSoCer’s and determine whether they continue working on their projects or they project work did not meet the expectations of the organization.
All the Best to everyone out there, who’s debugging all the way through mid night. 😛
Happy Coding 🙂


The command works for objects of all mime-types.
Two formats for the command are supported.
Format 1:
This would create the object in the sTeam directory. The new object would have the same name as the object in the git directory.
Format 2:
This would create an object with the name ab.mp3 in the sTeam directory. If the object exists from before, the contents of it will be over written with the contents of the object from the git-folder.